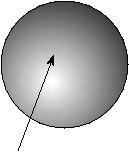
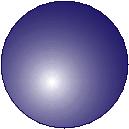
| The fill inspector allows you to control fill characteristics. You can control the number of gradations in the fill by using the slider control at the top of the inspector. Change the number to 100. You can also control the direction of the fill. The default direction is horizontal. You can explore the other options to see what each does. When you're ready to continue creating our sphere, click on the ball fill icon. When you do, a highlight control appears to the left of the original ball button. This controls where the highlight of your ball will appear. Click in the icon and drag the light spot to where you want it to appear on your ball. Notice that the highlight control only appears when it's relevant. You'll find this is true throughout Create; complex controls are hidden until you need them. On the right side of the inspector panel are two color wells with 5 buttons between them. These are the Start and End color direction controls that appear in many of the effects inspectors. The top color well controls the start color of the fill of your object and the bottom color controls the end color. The buttons between control the Blend method. The bottom button switches the start and end colors. Click on the third button to produce a logarithmic blend: | ||||||||||||
 | ||||||||||||
 | ||||||||||||
 | ||||||||||||